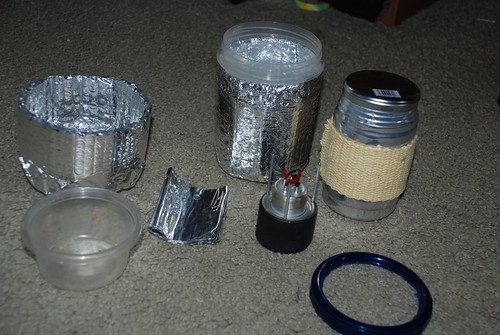
I really like alcohol stoves, I was first introduced to them at a Boy Scout training Pow Wow several years ago. I now have quite a few, I have made a few and purchased several online (probably a future post to cover them all).
Lately there has been some discussion on the forums about wood burning stoves for backpack cooking. I looked at some of the designs, one of the the more popular -
Bush Buddy was out of my budget, but looks great.
I took a wait and see approach as there are some wood gas designs in works. Recent discussions on Hammock Forums about the
Compact Wood Burning Stove (CWS) and a
Utube review by Jason Klass reignited interest and the gearaholic decided had to check it out and make one.
J. Falk provides instructions for the original one piece stove on his site and instructions for the CWS for a small donation (part to
American Diabetes Association.) here.As this is for a good cause, I won't discuss the construction steps.
Materials are readily available and the construction is very straight forward. Mine is not perfect or beautiful, but works just fine.
Here it is prior to fire up...

I grabbed a couple handfuls of twigs from the yard

I put the can base on the bbq grill for deck test and added a Vaseline impregnated cotton ball

Added some of the sticks and sparked the cotton with a blastmatch
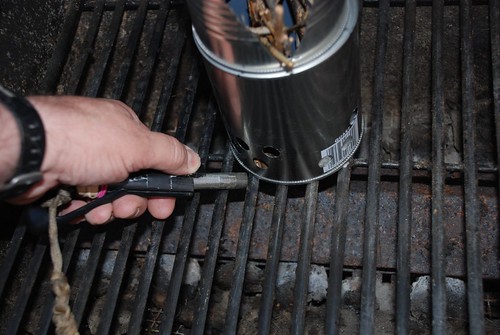
I was playing around with taking pictures and (don't tell anyone) let the thing go out. Another cotton starter and use of a stoking tube [I had some surgical tubing from HDepot for a future tarp guy project, so just added a brass fitting for the hot end] and quickly had the little stove in blast furnace mode. Quite efficient method. Falk discusses using a fish bait air pump for this purpose, may have to play with that later.


Once the flames got going,

I added a pot.

I used an old Peak 1 pot that ends up doing a lot of the dirty work around here. Falk recommends covering the bottom of the pot with foil for smut protection. This is well founded, but I ignored it just to see.

Amazingly, the handles of the pot stayed cool, as long as they are away from the from fuel port, the heat is focused on the pot.
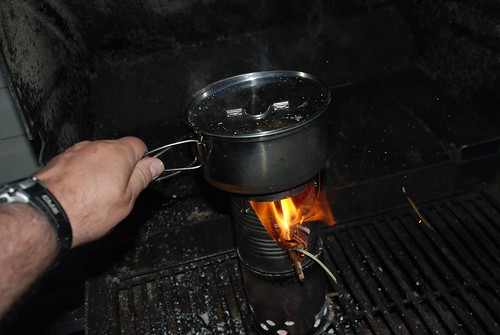
Boil time for 16 ounces of tap water was about 10 minutes. This was pretty respectable for first test with sticks and twigs of various size and moisture content, but hey this was from my backyard not the woods. Also I was playing around taking pictures etc. I would expect with a breeze as in Jason's video and more experience that 6-7 minutes with dry wood would be average.
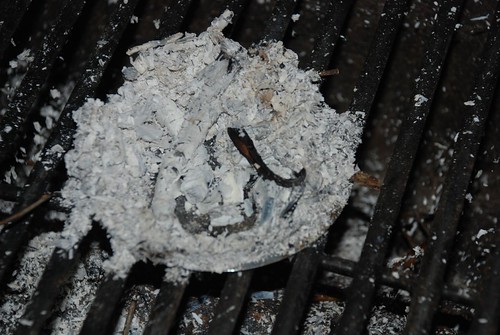
All that remained once the stove cooled down was a small pile of ash.
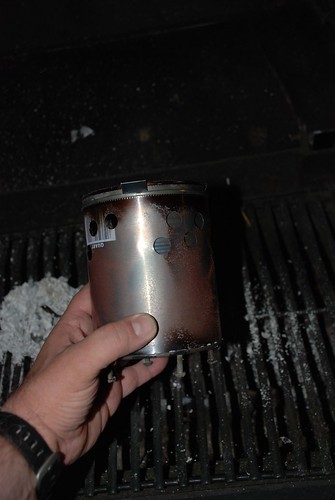
It is a relatively compact package with the top half fitted into the bottom. Weight is about 6.5 ounces on my scale for the base unit, if you add binder clips standoffs lids, and the stakes about 8oz - 9 to 10 if you add an alcohol stove.
Do expect smut, either foil on the bottom or a dedicated pot. Either way, I need to sew up a stuff sack and maybe a plastic bag inside to keep the soot contained and away from stuff in the pack
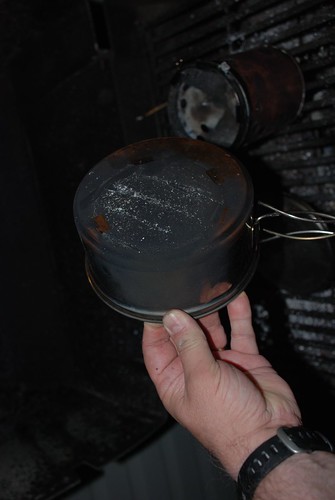
The smut did easily wash off, but that means more water needed and soap... the foil can be reused but I think just a dedicated pot for this stove, let it get sooted up. Definitely need a lid to keep the ash out of your food or water.
The top half of the stove can also be uses as a stand and windscreen for an alcohol stove. Two stakes and one of the can lids makes this transformation. Also some screws and binder clips provide stand-offs for more airflot. A very stable setup. I used it with my MBD atomic.
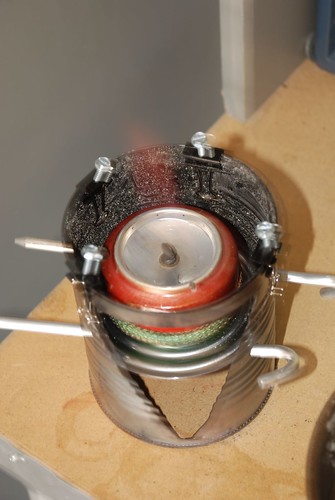

Overall - this was a fun project, minimal cost to construct. The stove provides an alternate means of cooking either as primary or backup to an alcohol or (shudders) canister stove. You do need to keep your fire going with additional twigs etc and stoke if needed, but that is
fun and as some others have said on the forums "feeds you inner
pyro"So the Scouts will love it.....
More photos




 I scored a nalgene bottle ($0.50)and a 24 oz enameled mug ($0.90) I also got a like new pair of adidas nylon wind pants for $6 - great for pulling over shorts on the trail.


